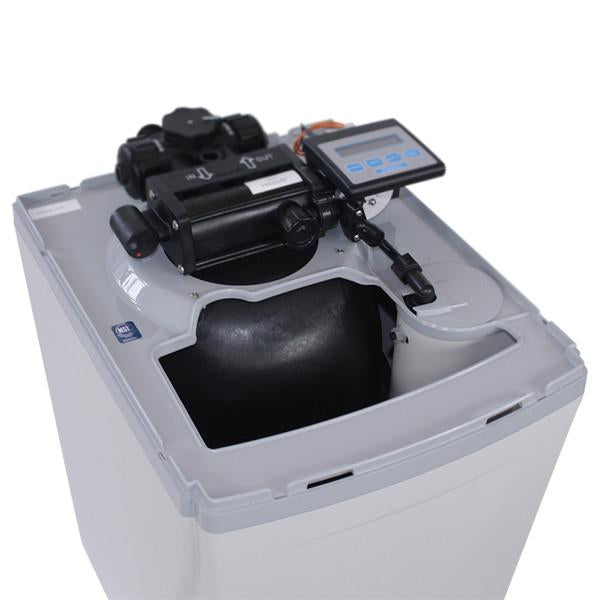
Progamming your Aquamaster Water Softener is necessary to ensure you get great performance.
This water softener features a five-button controller with an LCD display. The controller can be used to view the appliance’s status, perform regenerations, and change settings. The five buttons are used for programming as follows:
The Change Button is used with the Select button to set the value of certain parameters. When pressed, the value under the cursor changes to the next available value, typically increasing by one until all values have been displayed and the process begins again.
The Select Button is used to move the cursor when setting parameters. Press and release the Select button to move the cursor one digit to the right of the parameter to be changed, pressing the Select button again moves the cursor to the extreme left position.
The Display Button is used to enter programming modes and also to save a value and display the next value to be changed.
The Scroll Back function is used to step back to a previous parameter setting. It is typically used to go back to correct a setting without the need to scroll forward through all settings.
The Regenerate Button at the bottom of the controller is used when starting your water softener, to start an immediate regeneration, or to restore capacity if you run out of salt.
For Customer Settings, press and hold the Display button for about five seconds while “Customer Setting” displays. Release the button when “Set Time” displays.
Step 1 - Set Time of Day Display reads “Set Time” followed by the current time that is set; the cursor will be under the second hours digit.
A. Press Change repeatedly until the current hour is displayed.
B. Press Select to set the hour and move the cursor to the right.
C. Do the same to set the minutes. Select AM or PM. When the desired time is displayed, press Display to step to the next parameter.
Note: Whenever you experience an extended electrical outage, check your controller for the correct time. Make any necessary corrections.
Step 2 - Set Regeneration Time Display reads “Reg. Time” followed by the current regeneration time that is set; the cursor will be under the second hours digit. Usually you want to set a regeneration time when water will not be used.
To Change the Regeneration Time
A. Follow the procedure outlined above for setting the time.
B. When the desired regeneration time is displayed, press Display.
Step 3 - Set Number of People Display reads “# People” followed by the current setting for the number of people in the household; the cursor will be under the tens digit.
To Change the Number of People
A. Press Change repeatedly until the desired value is displayed; values will cycle from 0 to 9.
B. Press Select and the cursor moves to the right.
C. When the desired number of people is displayed, press Display to exit the Customer Setting mode.
When you press the Display button at “# People,” the values are saved, and the controller returns to Normal operating mode.
For Service Settings on the controller, press and hold the Select and Display buttons while “Service Settings” is displayed until “Set Language Eng” is displayed. Programming Service Settings is similar to programming Customer Settings above. See manual for complete setting details, at this point you will just be setting the hardness and iron settings but need to scroll through all of the settings as follows:
1) Press Display unit you see Units ENG
2) Press Display, controller displays Soft. v. #
3) Press Display, controller displays Mode 2
4) Press Display, controller displays Hard Gr. 015 this is where using the change and select buttons as above you will enter your waters hardness.
5) Press Display, controller displays Iron ppm and this is where you enter your iron content.
6) Press Display, controller displays Mang. ppm and this is where you enter your manganese content.
7) Press Display, controller displays Salt = leave the setting at Sodium unless you are using Potassium chloride.
8) Press Display a couple of times until you get to 72-96 hr Regen, if you are on well water with iron you would change this setting to Yes.
9) Keep pressing Display until you get to Filter and press display one more time to exit programming and save all of the values.
