


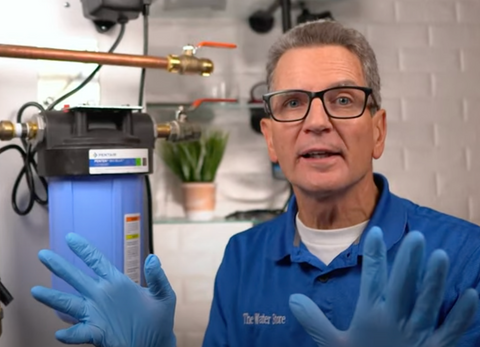
Get ready as I share my whole Luminor UV installation process step by step, including the insider tips and tricks that I use so you can easily install one of these like a Pro!
This blog post is perfect for the DIY home, cottage or cabin. By the end of this guide, you’ll fully understand how and where to install one of these Luminor UVs, and the best way to make sure it performs perfectly and is easy to service in the future. And hang around until the end because I’ve got an important Pro Tip Warning to share with you about what you definitely shouldn’t do!
By the way, the installation procedure is exactly the same whether you have the Luminor LB4, LB5, LB6 or the higher flowrate versions like this LBH5. Luminor makes UV systems for Culligan, Water Depot, Nelson and many others so if you have one of those and it looks like the Luminor shown here, the procedure is identical.

GETTING STARTED
If you’re not sure how one of these UV systems works, I have a great YouTube video here that explains the whole process.

Pretreatment and Installation Planning
1) Pretreatment must be completed and is critical to the operation of these UV disinfection systems:
-
Iron < 0.3 ppm (0.3 mg/L)
-
Hardness* < 7 gpg (120 mg/L)
-
Turbidity < 1 NTU
-
Manganese < 0.05 ppm (0.05 mg/L)
-
Tannins < 0.1 ppm (0.1 mg/L)
-
UV Transmittance > 85%
2) A 5-micron sediment filter must be installed as part of pre-treatment.
3) Be sure to check out this infographic on where the UV gets installed relative to other equipment in your home!

4) Determine the appropriate indoor location of the controller and chamber, keep in mind that the chamber can be installed vertically or horizontally.
Pro Tip #1: Vertical installation is the preferred method with the inlet at the bottom (lamp connection at the top) as it allows any air that may be in the lines to be easily purged from the system.
5) Use the supplied fasteners to mount the UV reactor.
Pro Tip #2: ideally mount it to plywood.
6) If your flow rate is unknown or greater than the capacity of your UV, install a flow restrictor on the inlet port of the stainless steel reactor.
7) Connect both the inlet and outlet of the UV with the applicable connections based on your particular plumbing requirements. The inlet port of the filters is a 1” MNPT connection and the outlet port of the UV reactor is a 1” MNPT connection.
Pro Tip #3: If you’re using pex plumbing you need to run at least 12” of copper before switching to pex at the outlet.
Pro Tip #4: Always use Teflon tape and pipe dope at each connection.
8) Select a 5-micron sediment prefilter that is a Big Blue or 4 ½” in diameter and at least 10” long, 20” is better for more capacity.
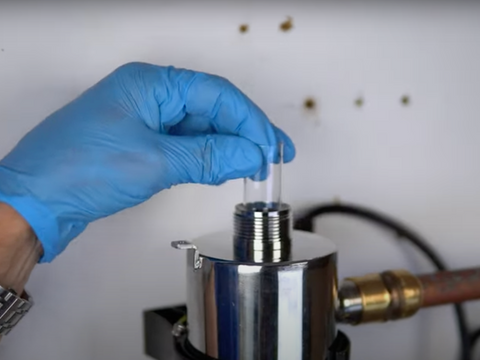
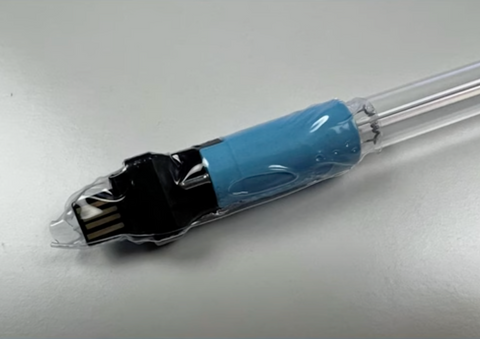
9) Once the system has been plumbed in, gently remove the quartz sleeve from its packaging being careful not to touch the length with your hands.
Pro Tip #5: The use of cotton or latex gloves is recommended for this procedure as
oils from your hands can leave residue on the sleeve and lamp which can ultimately block the UV light from getting to the water.
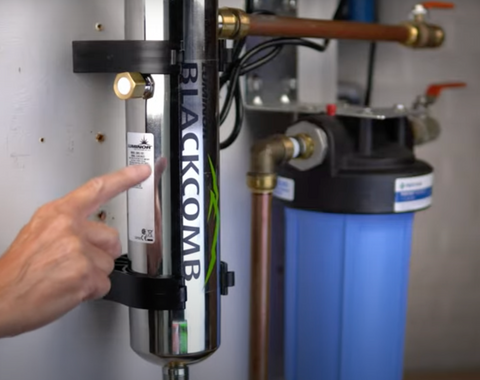
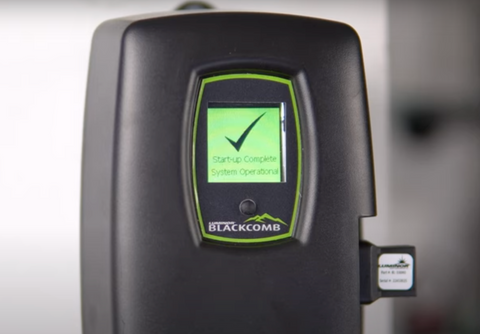
10) Ensure you are installing the Blackcomb version.
Pro Tip #6: Stay away from the proprietary systems from companies like Culligan, Water Depot and Nelson because you can only get the replacement UV lamp from them, so they can charge whatever they want!
11) Locate the controller (ballast) above all UV plumbing.
Pro Tip #7: Make sure that the controller is not under some other household plumbing that could drip condensation onto it.
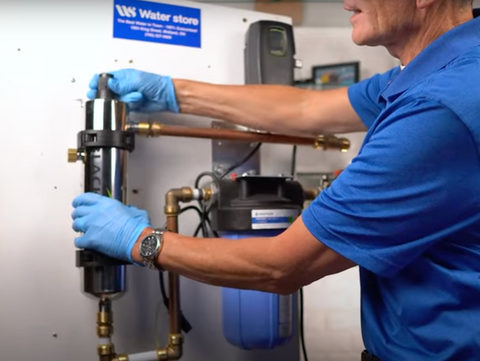
12) Carefully slide the sleeve into the stainless steel reactor until you can feel it hit the opposite end. Align the sleeve so it’s centered along the length of the reactor, then gently push it in to lock it into the internal centering springs in the far side of the reactor.
CAUTION: Pushing too hard when the sleeve is not aligned can damage the centering springs. Slide the o-ring onto the sleeve until it is butted up against the reactor.
Pro Tip #8: I recommend using plumber's clear silicone grease on the “O” Ring. A firm force may be required to fully tighten the gland nut, but DO NOT USE TOOLS for this step. Insert the stainless steel spring into the quartz sleeve. The spring works with the lamp and LUMI-Loc™ connector to create the proper lamp alignment.
13) Always handle UV lamps by their ceramic ends, not by the lamp quartz. Remove the lamp from its packaging. Again, the use of cotton or latex gloves are recommended. Insert the UV lamp into the reactor, being careful not to drop it.
14) Install the lamp key into the controller. The key always comes packaged with the lamp and sits on the connector. With the key removed from the lamp, orient it so the label is upright and facing you. The key will plug into the lamp key port on the right side of the controller.
15) Plug the LUMI-Loc™ lamp connector into the lamp. Note the keying for proper alignment. Insert the lamp connector into the gland nut and turn the connector
approximately ¼ turn to lock the connector to the gland nut.
16) Tighten the captive ground screw to the ground lug on the UV reactor to ensure proper grounding.
17) Plug the lamp in a GFCI-protected outlet.
Pro Tip #9: Plug the system into a surge suppressor to protect the ballast. Super cheap insurance to protect that lamp and the ballast.
18) Turn on the water supply, vent while filling, and check for leaks.
Pro Tip #10 - It’s imperative that the entire distribution system located after the UV be chemically cleaned and disinfected to ensure that the plumbing system is free from any contaminants. The cleaning process must be performed immediately after the UV unit is installed and repeated whenever the UV is shut down for service, without power, or inoperative for any reason.
The procedure for disinfecting the plumbing system is explained in this video:
>> SHOP LUMINOR BLACKCOMB UV SYSTEM


